this + that: how to line a cake pan


Happy Wednesday! If you’re new to the kitchen, long lists of ingredients and multi-step recipes can seem overwhelming. But rather than questioning your ability to make a Pinterest-worthy pie, just remember, mistakes are part of the process. After several years of practice, and a few kitchen mishaps, I’ve picked up a few tricks that will take your cake baking game to the next level. Today's this + that, features one of the simplest tricks: how to line a cake pan. Essentially this is "step one" in baking a cake. So keep reading, and I'll share + show you how to line any size cake pan you might come across!

this + that: how to line a cake pan
total time: 3 minutes
what you'll need
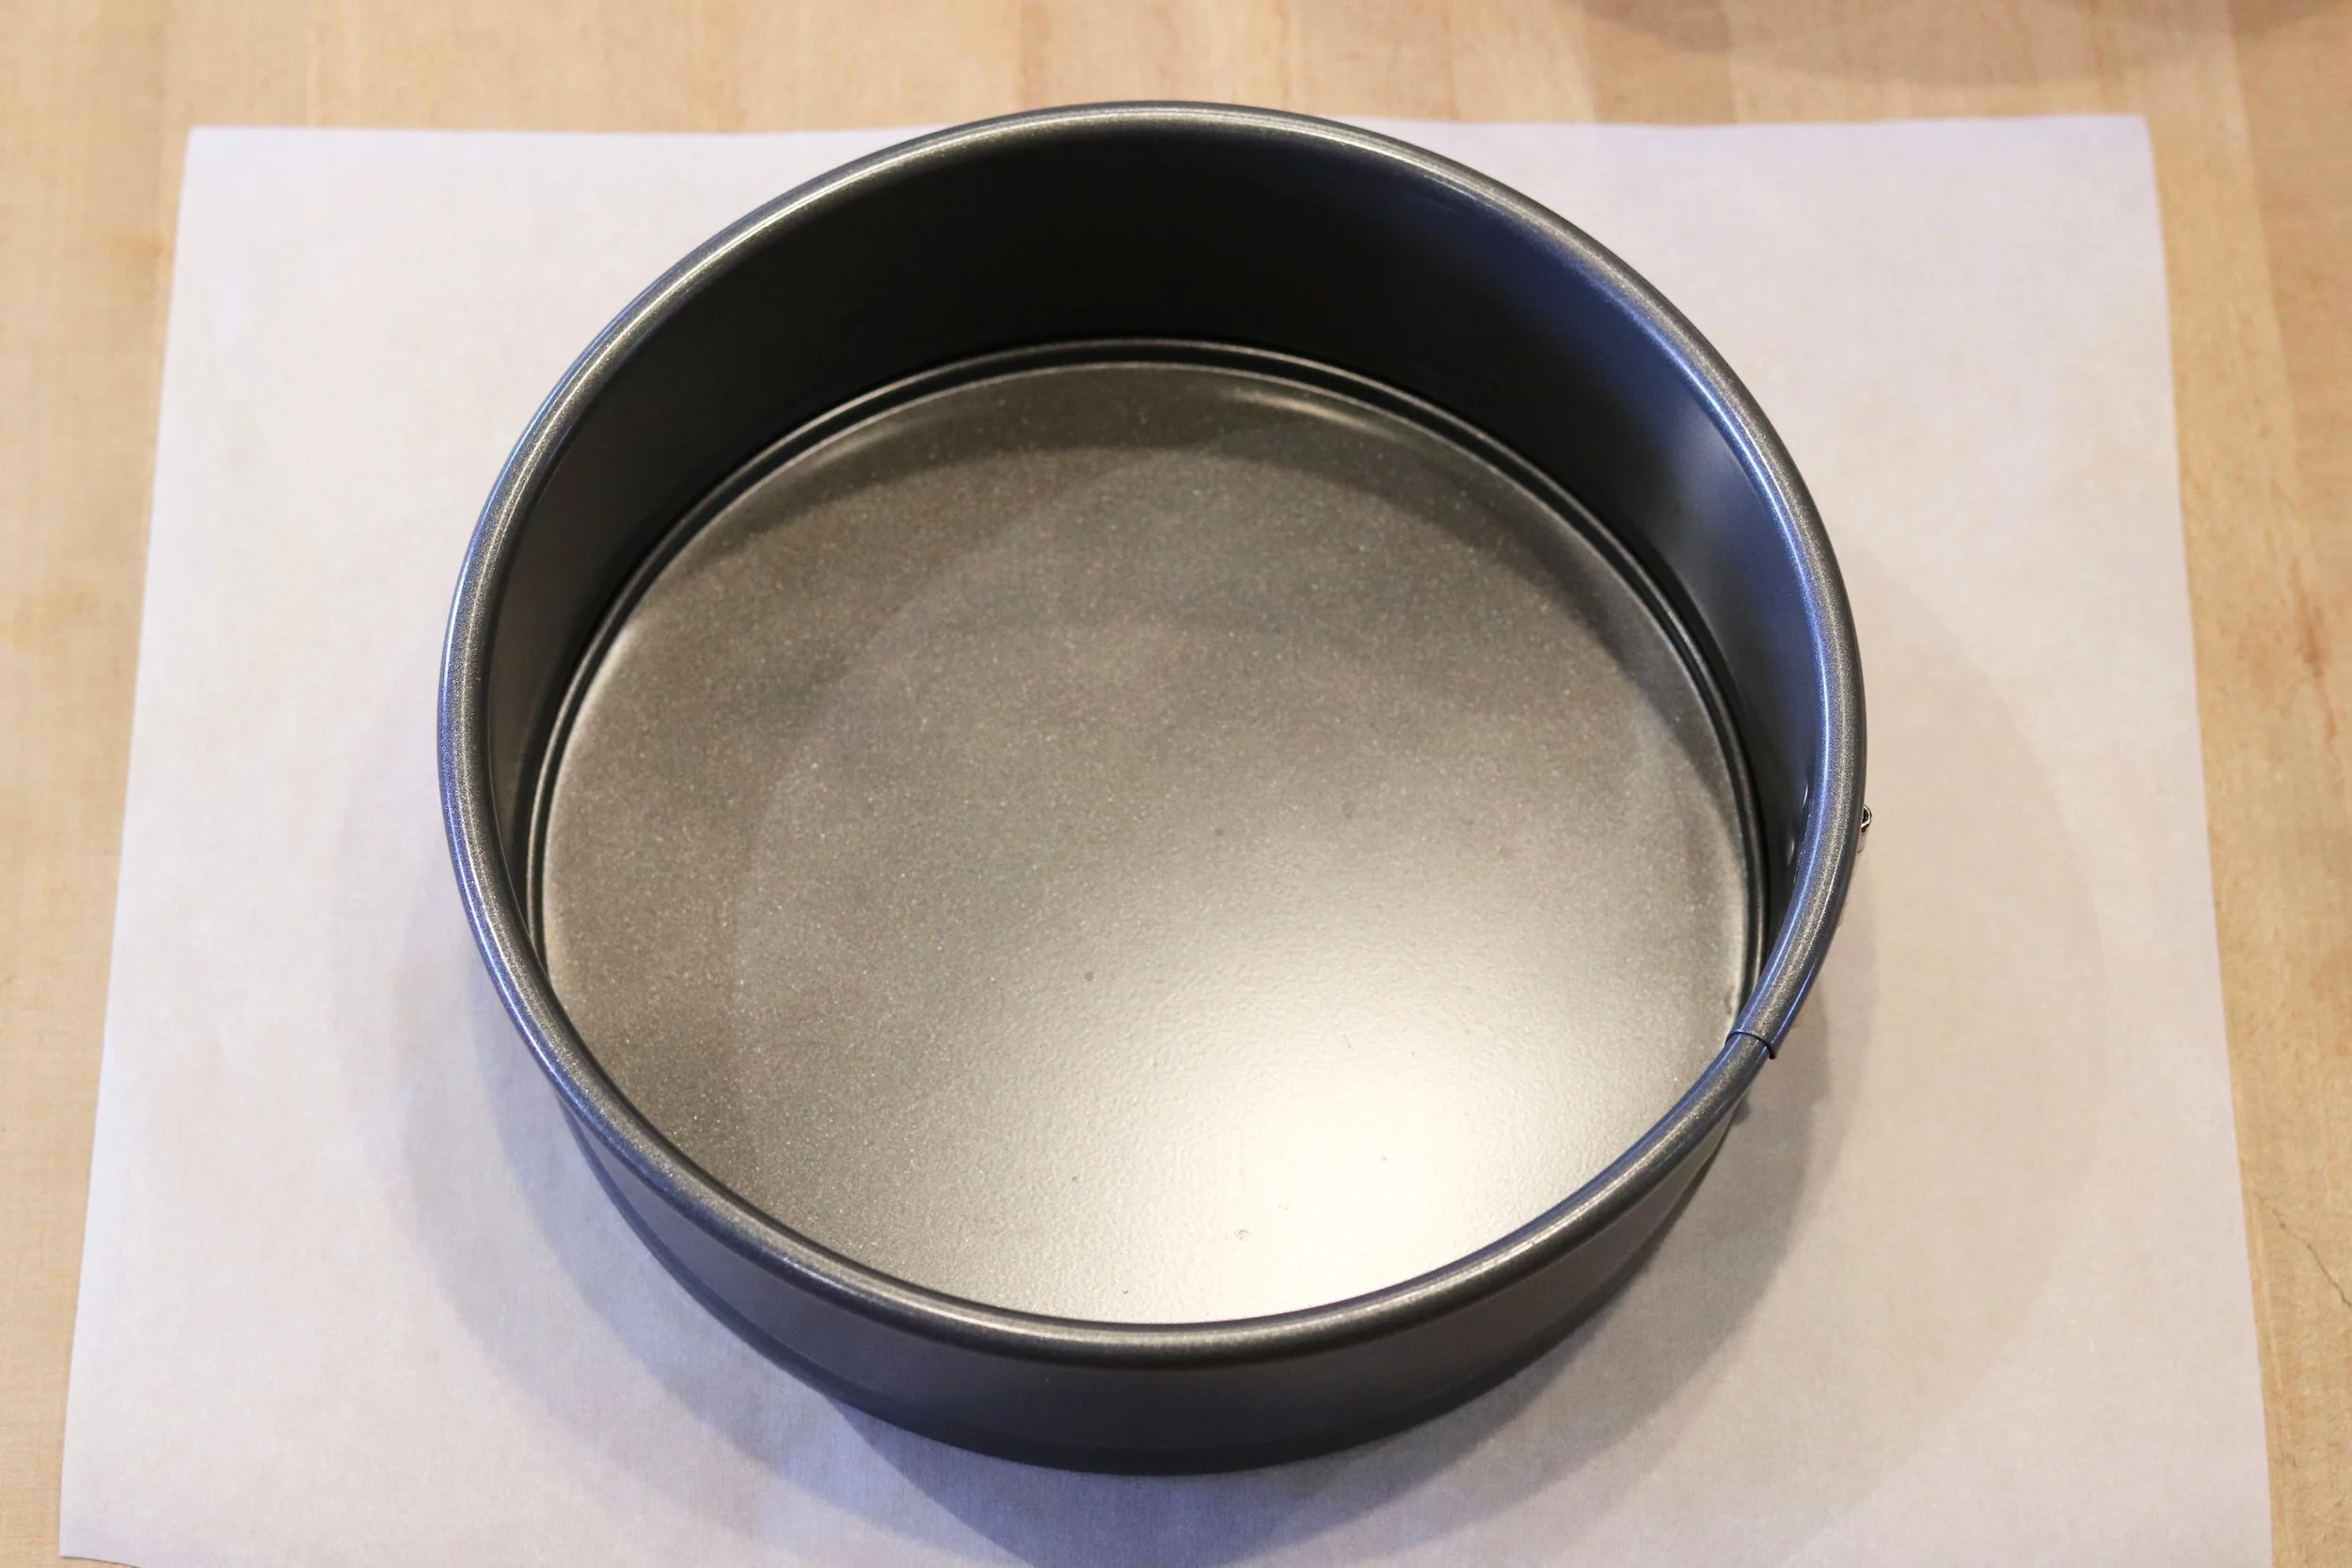
- any size cake pan
- parchment paper
- scissors
basics (ignore the statement non-stick pan)
First, let’s get down to the basics. If you encounter the words, ‘grease, line with parchment paper, and grease and flour’ in any cake recipe, don’t be tempted to skip this step. Many cake batters are extremely fragile and have a tendency to stick to even the most non-stick cake pan. In addition, that extra step of layering your pan with parchment, greasing and flouring it will allow your cake layers to rise properly and gain additional height. There's nothing worse than baking a cake, and as you remove it from the pan, part of it sticks to the so called "non-stick" pan and your cake dreams literally begin to crumble. If asked to line with parchment paper, don't skip this step! I don't care how "non-stick" your pan claims to be, save your cake in advance by lining the cake pan with pachment paper. My easy folding technique makes it a cinch, and you probably already have partchment paper on hand, so no need to go out and purchase those expensive cake liners which only come in specific sizes.

line-it up
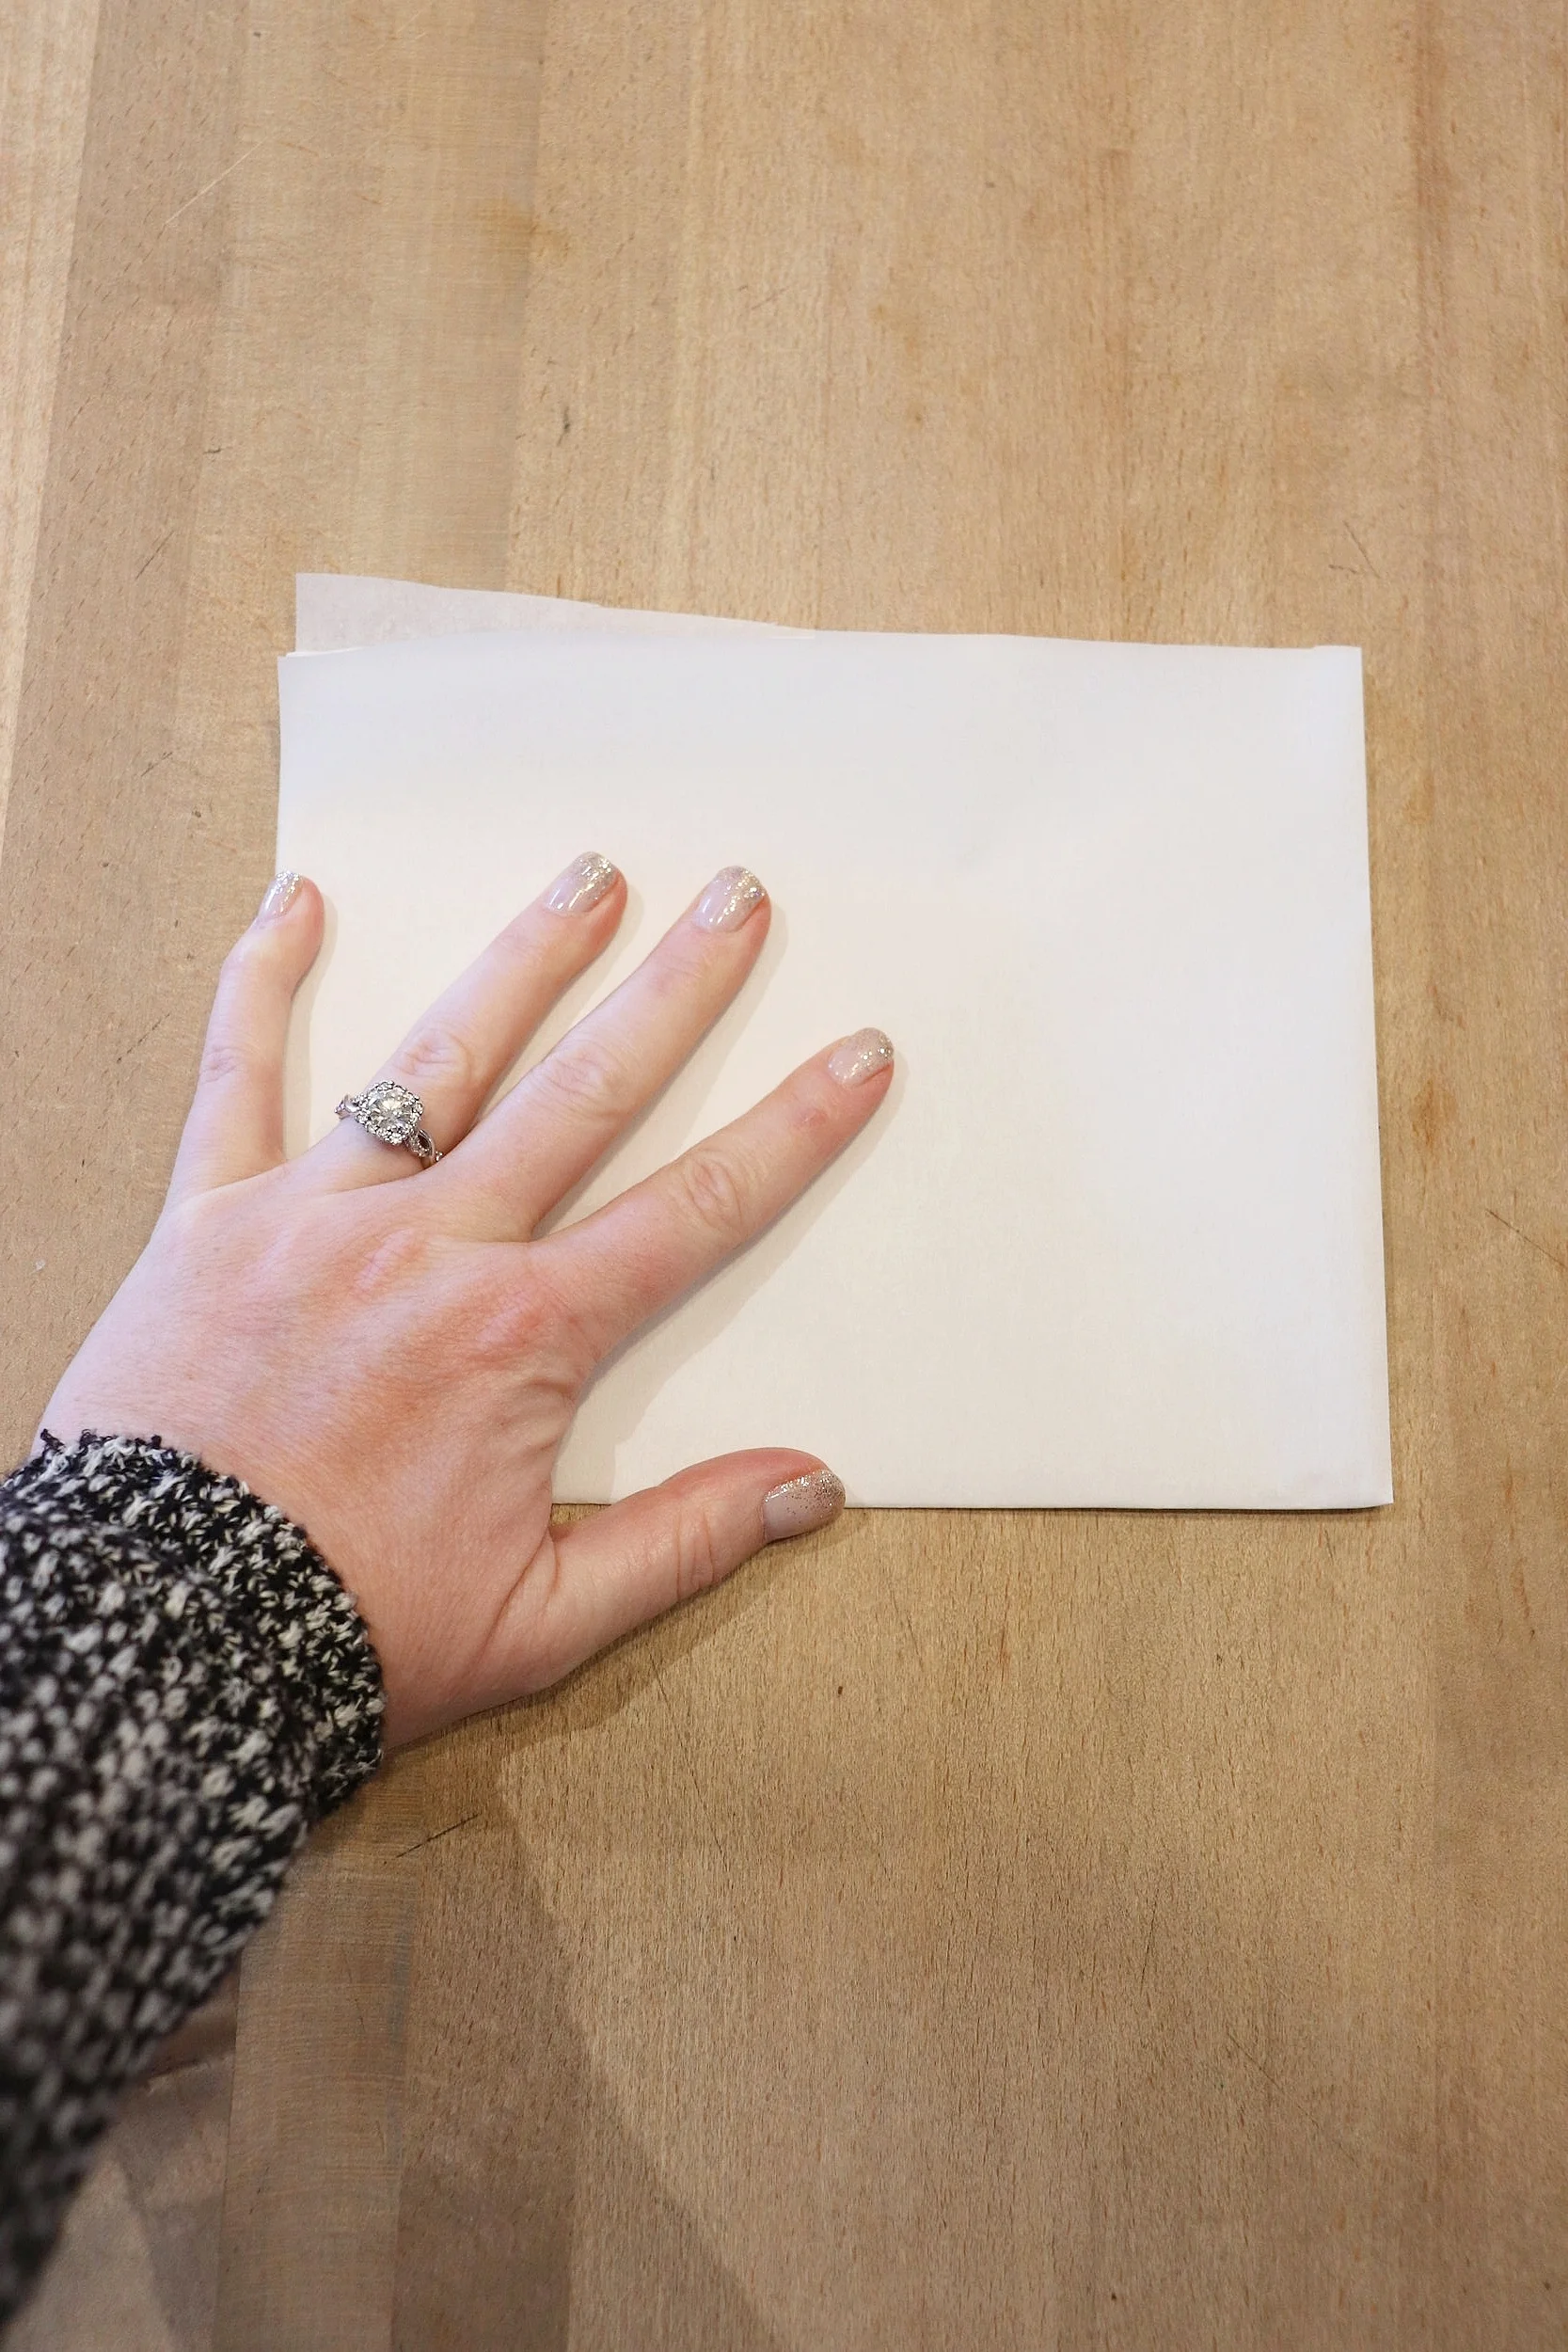
1. First, cut out/tear a piece of parchment paper that is only slightly larger than your cake pan. As long as both sides of the parchment piece are slightly longer than the cake pan diameter, you are good to go!
2. Fold the piece of parchment paper in half, then fold it in half again. You will end up with a folded square of parchment paper.

3. Fold the square into a triangle (bringing one folded edge to the other folded edge).

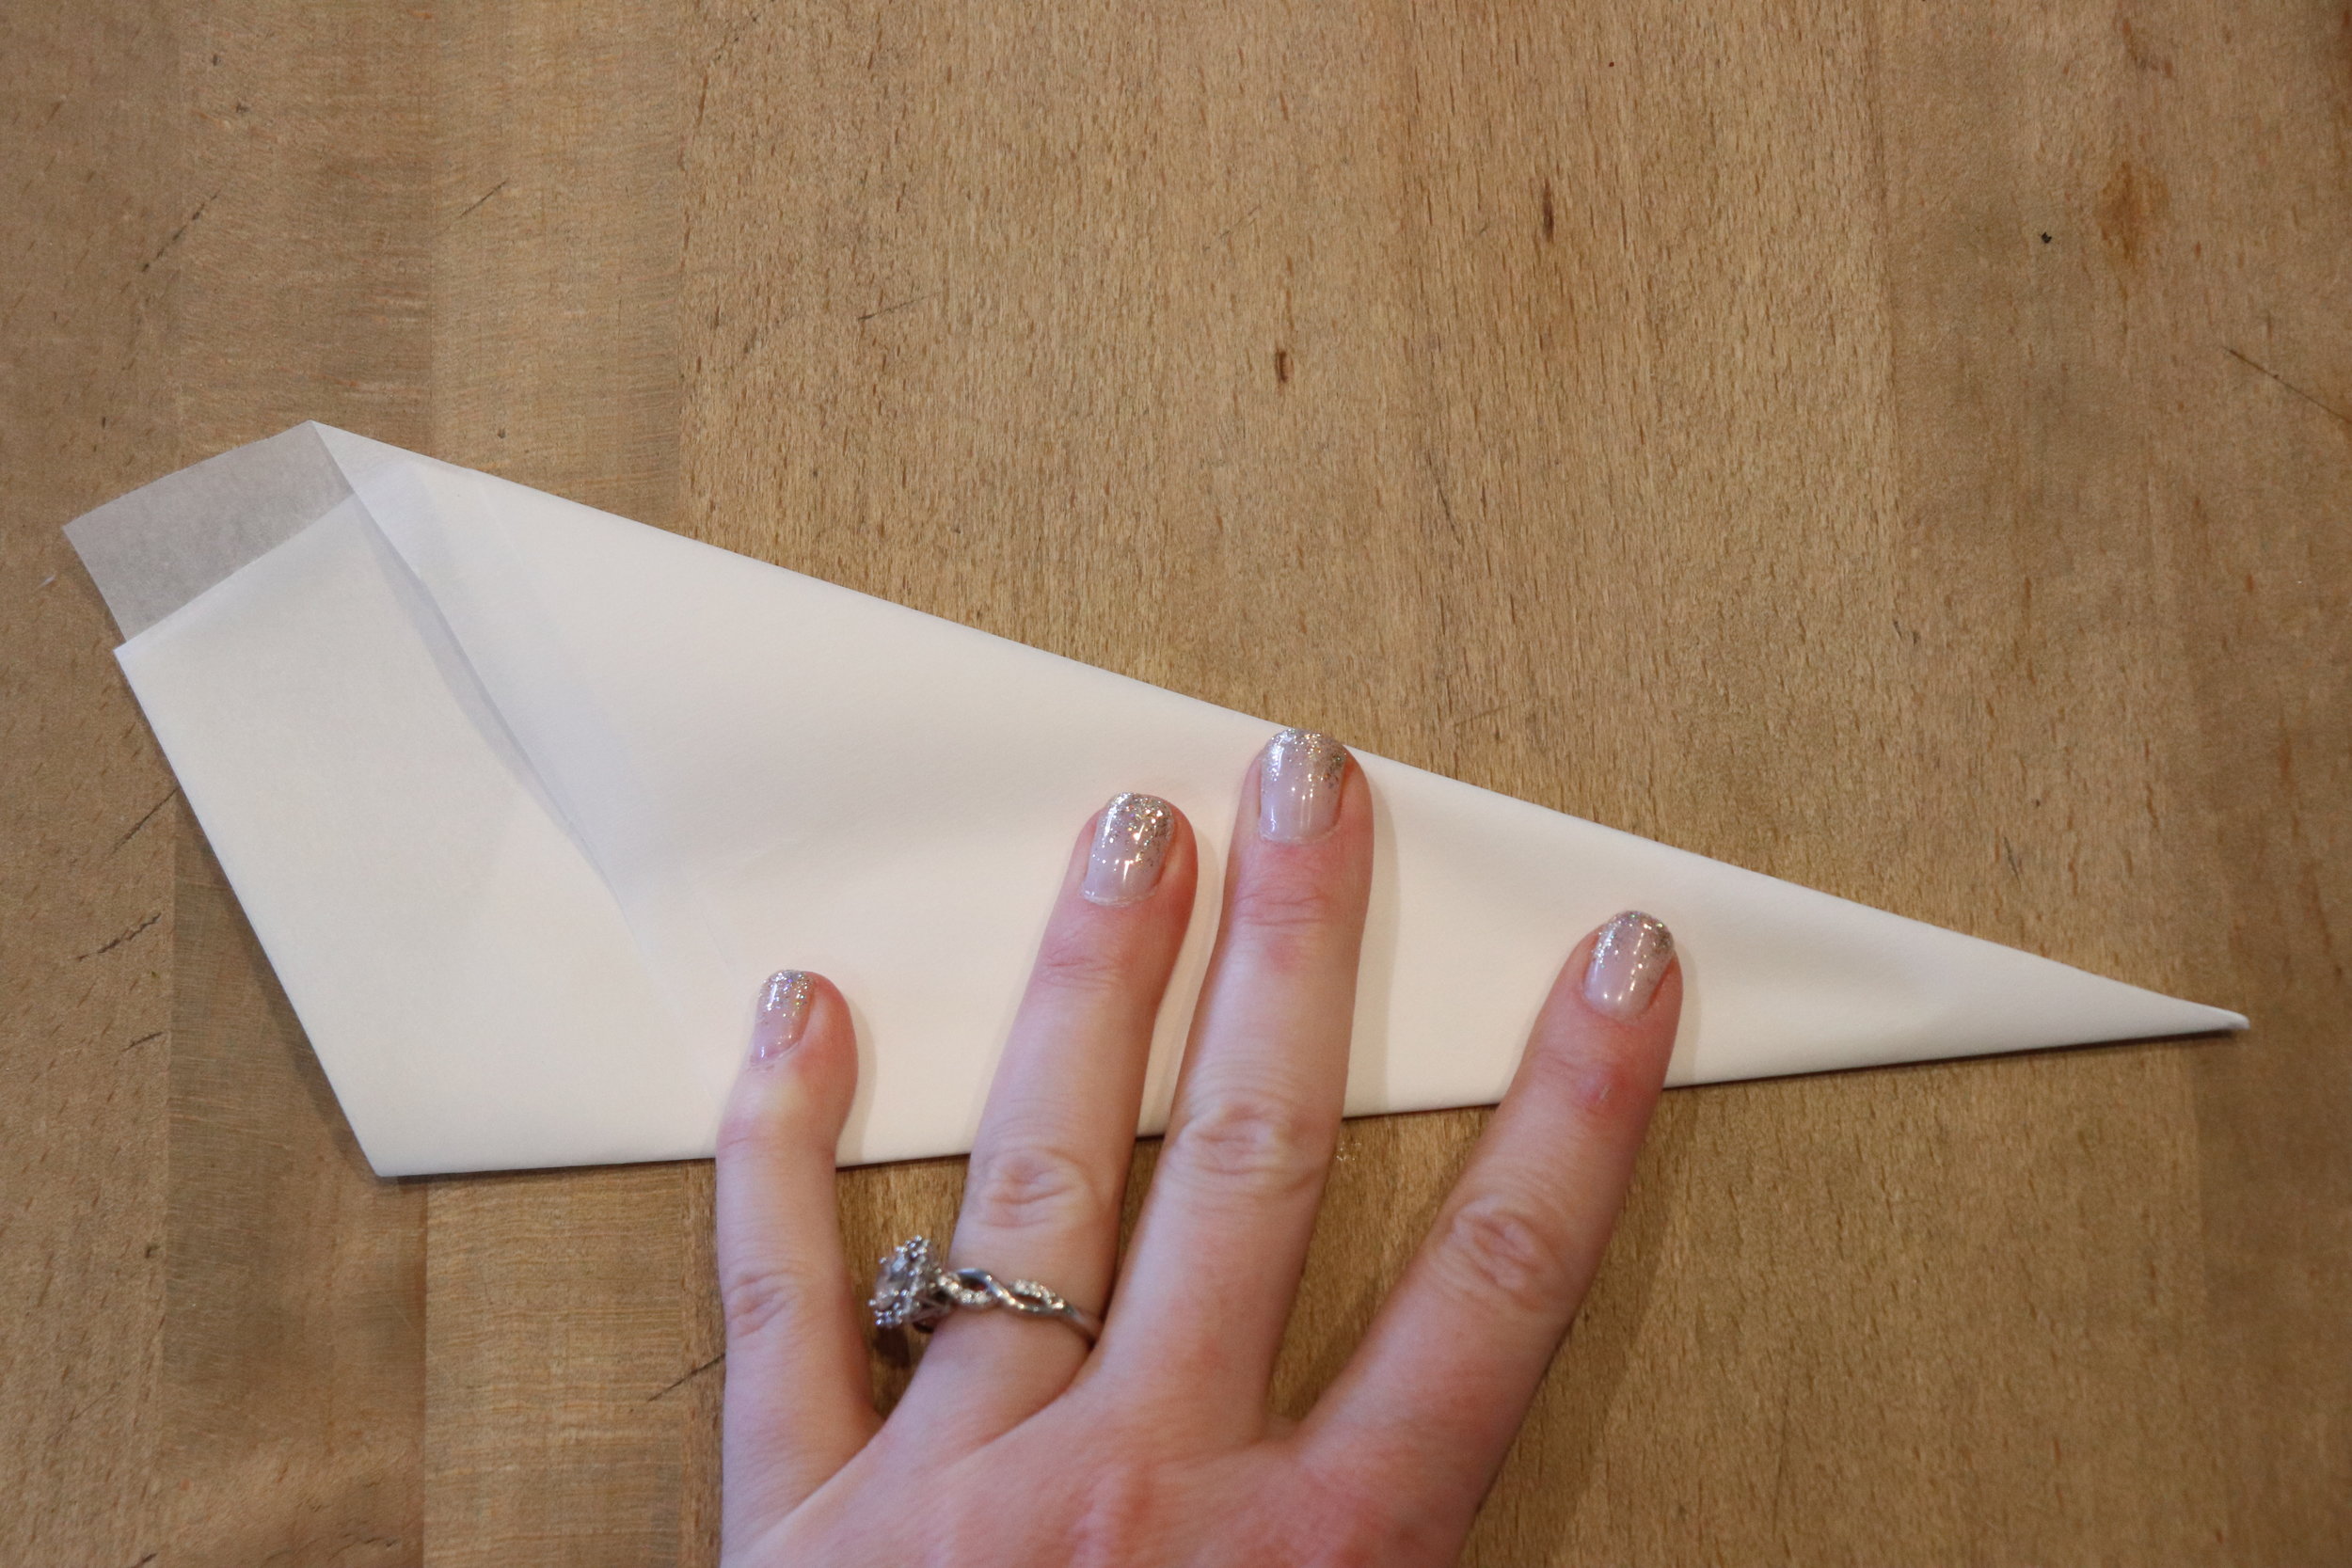
4. Continue folding the triangle in half to create a smaller triangle (I do about two additional folds). The smaller the triangle, the easier it will be create a ‘perfect’ round for lining.

5. Place the (ungreased) cake pan upside down on your countertop and line the tip of the triangle to the ‘estimated’ center of the pan. This doesn’t have to be perfect, but try to eyeball it as closely as possible. Holding the parchment triangle centered in place, cut the parchment following the curve on the sides of the cake pan with scissors.


6. Unfold the parchment and set inside of the cake pan to ensure it fits properly. Trim off any excess material if necessary (once you get the hang of it, you’ll rarely need to do this!). Grease and line the pan as instructed for the recipe.

7. Voila! A perfectly lined cake pan without any fuss!
Whether your a beginner or an cake-baking savant, this time-saving trick will make cake baking even easier! If you enjoyed this baking trick please let me know in the comments below! Keep reading to see how to line a bundt cake pan.
What baking tips + tricks would you like to know about?
XO, Kassy

how to do a bunt cake pan (i love a good bunt)
Follow the same process as above. After you cut the excess parchment paper, hold you trimmed-up triangle at the center of the bundt pan, and cut the smallest point of the triangle along the bundt pan's hole. Easy!


